前回はOffi365をPowerShellコマンドレット(CUI)で管理する場合の初期設定手順を説明いたしました。
今回はPowerShellを使用する場合に、毎回必ず行わなければならない手順について説明します。
前提条件:PowerShellの初期設定が完了していること。
1.「Windows PowerShell 用 Windows Azure Active Directory モジュール」を右クリックして「管理者として実行」で起動します。
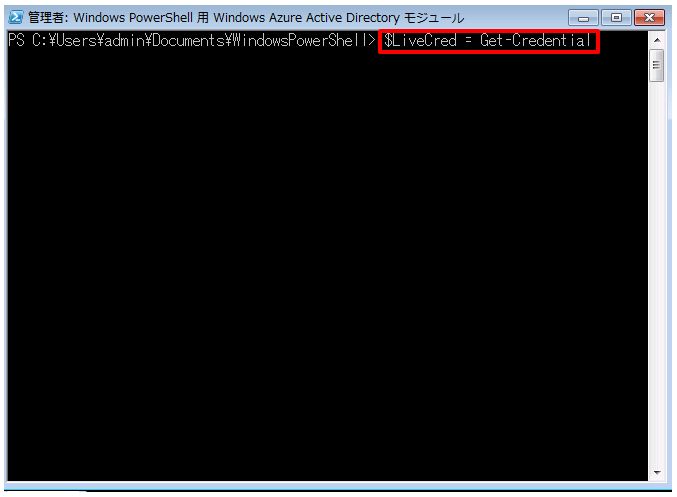
2.以下のコマンドを実行します。
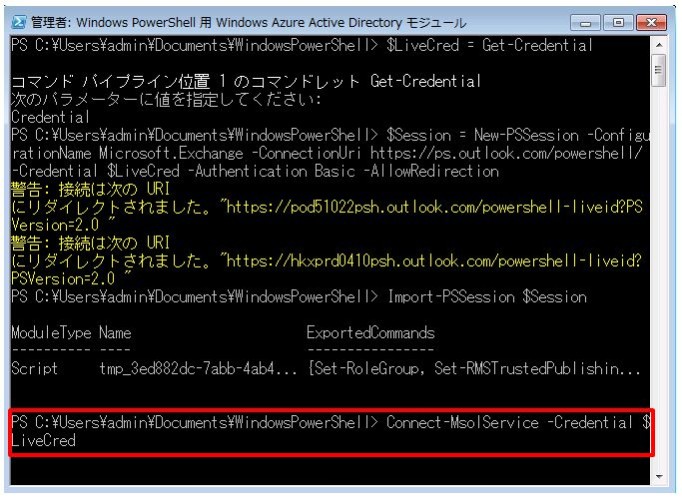
$LiveCred = Get-Credential
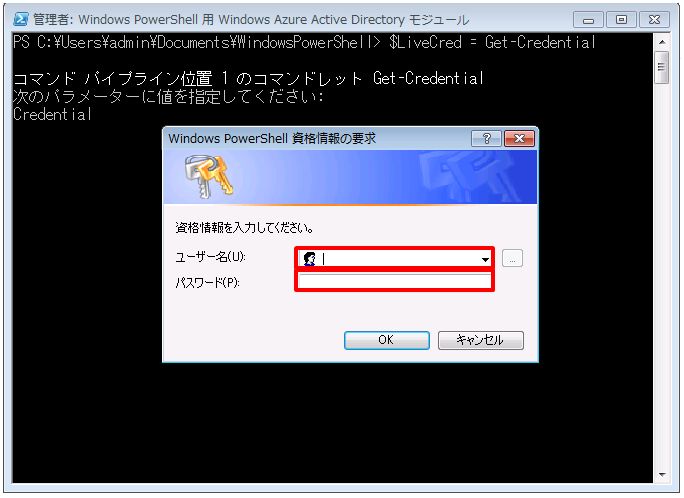
3.資格情報の確認が表示されます。Office 365 の管理者権限のあるアカウントとパスワードを入力します。
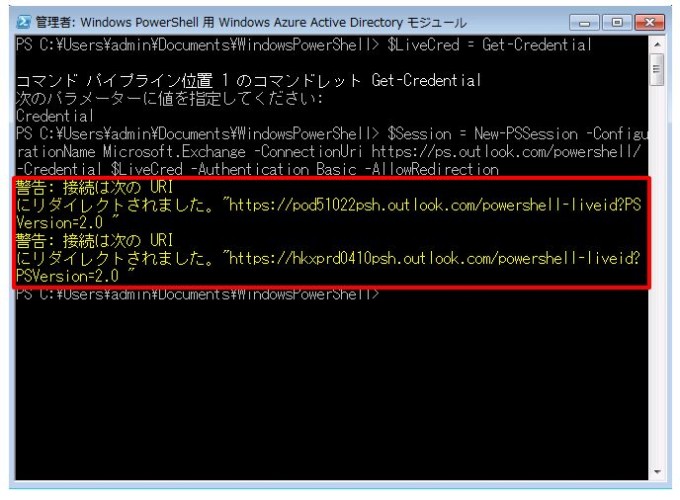
4.以下のコマンドを実行します。
$Session = New-PSSession -ConfigurationName Microsoft.Exchange -ConnectionUri https://ps.outlook.com/powershell/ -Credential $LiveCred -Authentication Basic -AllowRedirection

※警告が表示されますが、正常に接続されている証拠ですので問題ありません。
5.以下のコマンドを実行します。
Import-PSSession $Session

6.以下のコマンドを実行します。
Connect-MsolService -Credential $LiveCred
手順はここまでです。
次回は、実際にPowerShellを使用してOffice365の設定を変更してみようと思います(^^)/